Basic Support Operations of Hubspot
1. Adjusting settings -
Settings>Notifications>Expand all items>scroll down to ‘New Unassigned’ and turn off.
2. Accessing Tickets -

Service>Tickets
All tickets are visible from this screen and will be in the following columns:
- New – These are tickets that have not been answered.
- Waiting on contact – These are tickets that have been answered but are now awaiting a response from the sender.
- Waiting on us – These are tickets that have been answered and the sender has got back to us and is now awaiting our reply.
- Closed – These tickets are answered and don’t require any more attention.
3. Adding Ticket Properties -

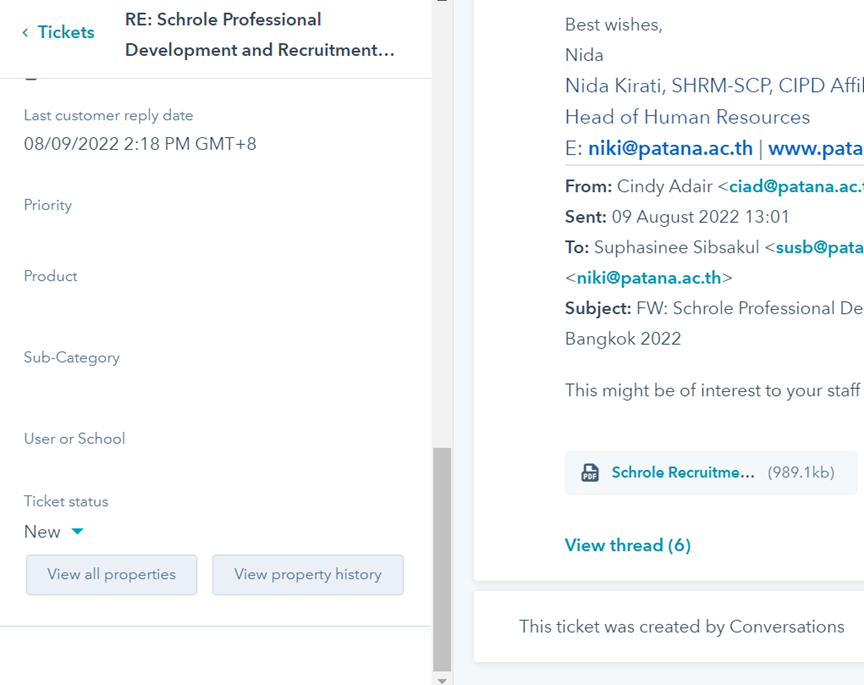
Click onto a new ticket>scroll down on left side>view all properties>search properties> add to your view.

Please add the following:
- Product
- Sub-Category
- Ticket Status
- User or School
4. Adding email signature –
Find a sent email from your outlook account and copy your email signature.
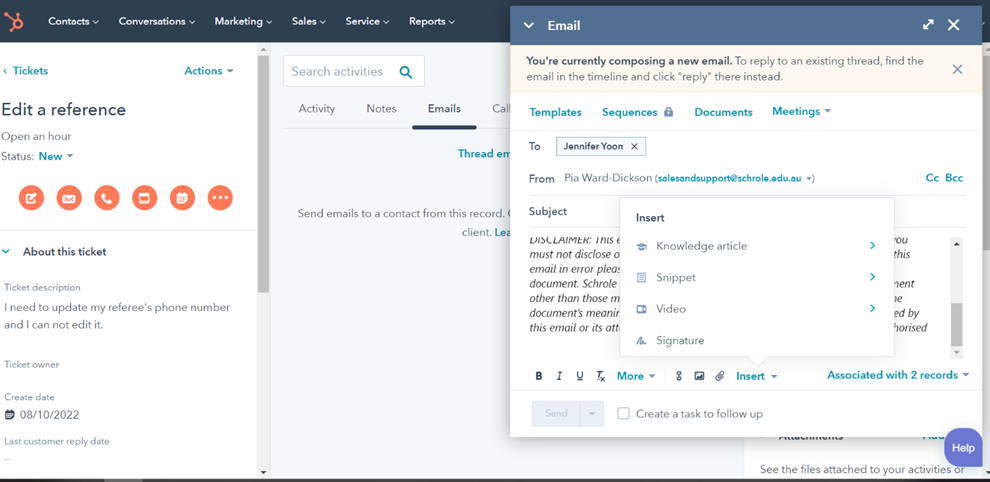
On HubSpot open a new ticket and click email>insert>signature

Paste signature into box and click ‘save’. This will now appear in every email you create and send.
5. Replying to Tickets -
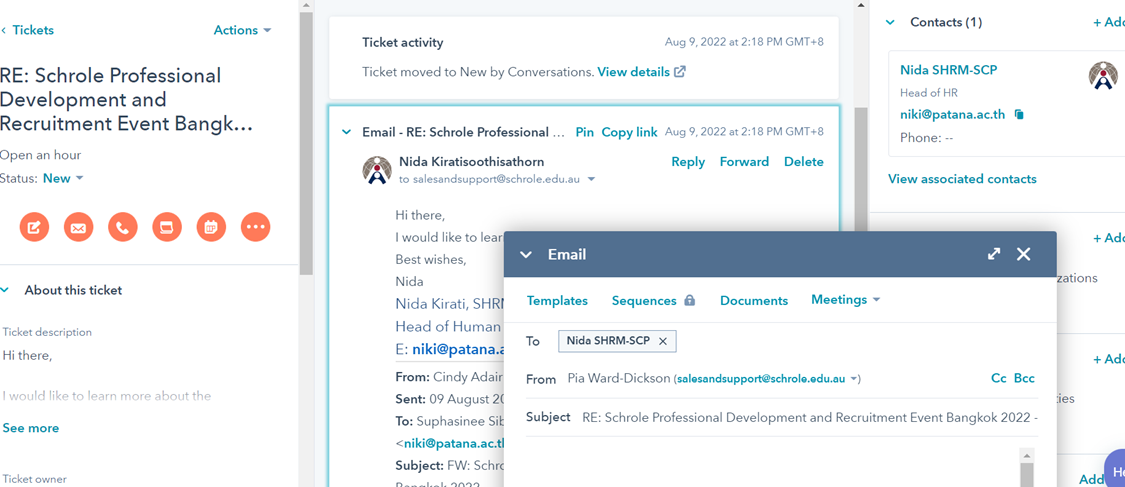
When the ticket appears in activity.
Click into ticket>reply>email template will appear ready to reply to sender.

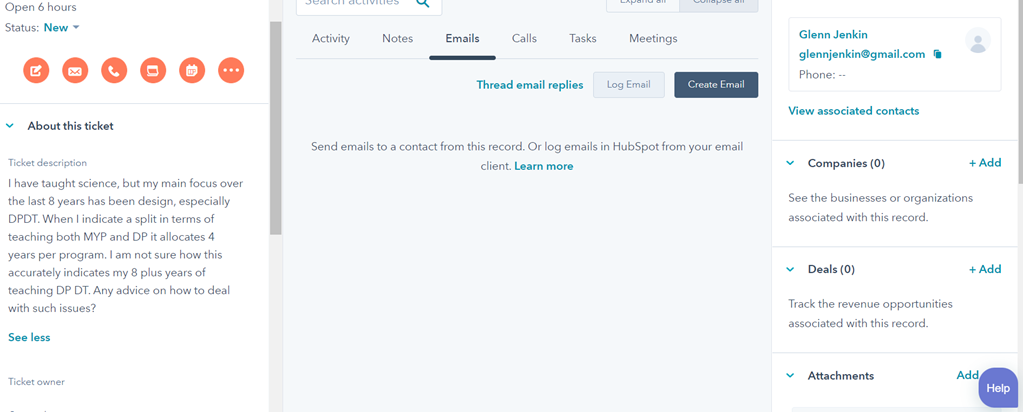
If the ticket doesn’t appear in activity, you can read the ticket on the left-side column.
To reply press email>create email>reply as normal.

6. Using Ticket Properties -
When replying to a ticket, adjust the ticket properties according to the nature of the ticket. Place the ticket under your name in ‘ticket owner’, categorise ‘priority’, ‘product’, ‘subcategory’ and ‘user or school’ according to description and put ‘ticket statuses’ to the appropriate column.
Priority of tickets are categorised as:
Low – Isn’t directly or significantly affecting the candidate or us
Medium – Can affect the candidate’s opportunity for jobs or their business with us
High – Is affecting the candidate’s opportunity for jobs, therefore their lively hood or is risking their business with Schrole.
